Part 1: Installation
Note
Additional installation instructions and developer notes are available at the SMART Github code repository [LINK].
To begin installing SMART, first clone the code repository to the local directory of your choice:
$ git clone [github repo]
SMART uses Docker in development to aid in dependency management. First, install Docker and Docker Compose. Then navigate to envs/[dev|prod] and run docker-compose build to build all the images:
$ cd smart/envs/dev
$ docker-compose build
Next, create the docker volumes where persistent data will be stored: docker volume create --name=vol_smart_pgdata and docker volume create --name=vol_smart_data.
$ docker volume create --name=vol_smart_pgdata
$ docker volume create --name=vol_smart_data
Lastly, run docker-compose up to start all docker containers. This will start up the containers in the foreground so you can see the logs. If you prefer to run the containers in the background use docker-compose up -d. When switching between branches there is no need to run any additional commands (except build if there is dependency change).
$ docker compose up -d
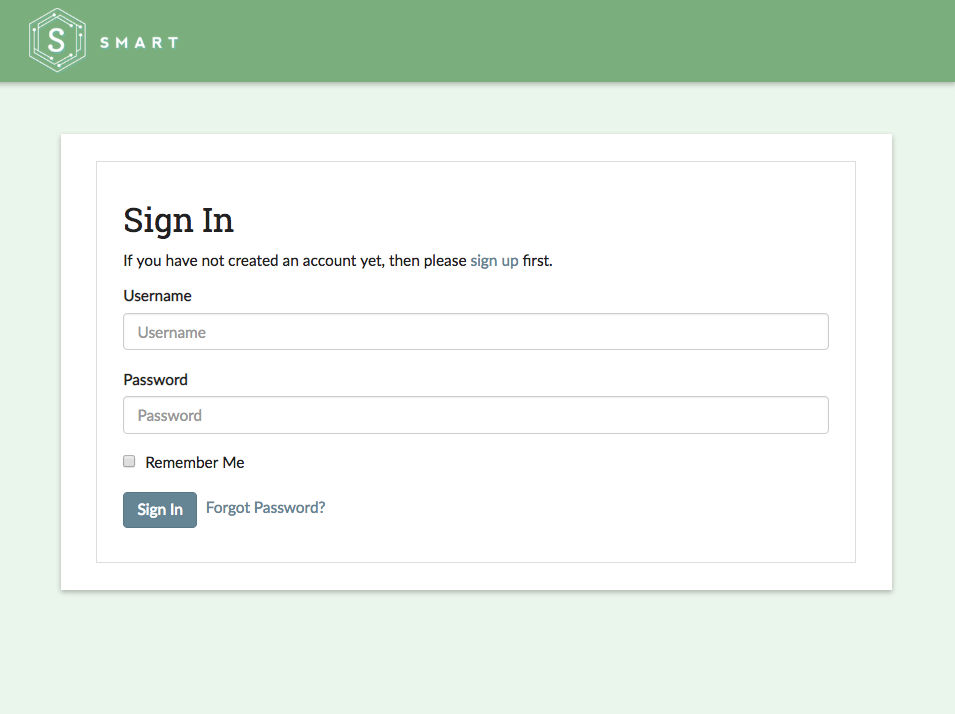
To see SMART in action, navigate to http://localhost:8000 in your web browser of choice. You should be welcomed by the SMART login screen:
Note
By default, SMART will use port 8000 for the front-end and port 5432 for the back-end processes. See the SMART code repository README for instructions on how to change the default ports.
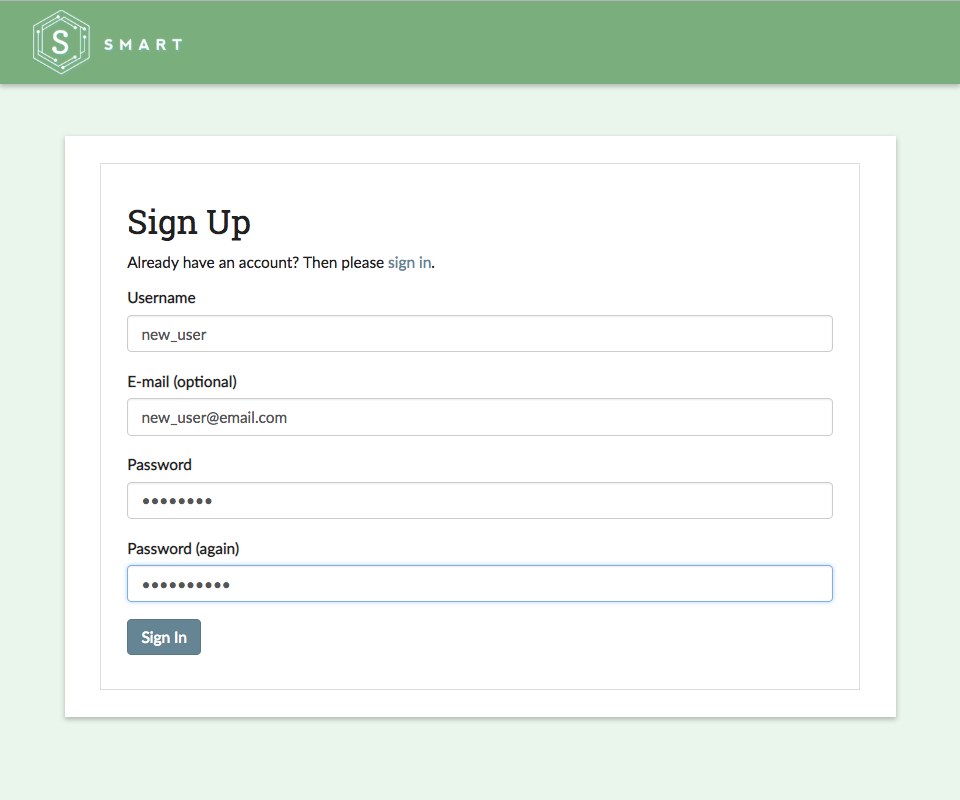
Finally, create a profile to start your own new labelling projects or to be added to an existing one: